
Ever stare at a blank wall and think, “This needs a statement piece—but not another generic print”? You’re not alone. A large wall clock isn’t just functional; it’s a silent anchor that pulls your entire room together. Yet so many DIY attempts end with crooked hands, buzzing mechanisms, or clocks that look like they belong in a dentist’s waiting room—not your curated living space. In this guide, we’ll walk through exactly how to build a stunning wall clock diy large project that wows guests and holds up over time—without wasting $80 on tools you’ll never use again.
Table of Contents
- Why Large Wall Clocks Matter in Home Decor
- Step-by-Step DIY Guide for Your First Clock Build
- Pro Tips and Best Practices
- Real-World Examples That Nailed It
- Frequently Asked Questions
Key Takeaways
- A well-placed large wall clock improves spatial balance and reduces visual clutter.
- Use lightweight materials like MDF or foam board—never solid wood unless you’ve got heavy-duty anchors.
- Choose quartz movements rated for oversized dials (over 24 inches); standard ones stall under weight.
- Always test alignment with painter’s tape before drilling or gluing anything permanently.
- Measure twice, hang once—and verify stud placement if going larger than 30 inches.
Why Large Wall Clocks Matter in Home Decor
In open-concept homes—which now make up over 60% of new U.S. single-family builds according to the U.S. Census Bureau—empty walls scream “unfinished.” A wall clock diy large fills that void with purpose: it adds rhythm (literally), scale, and timeless elegance without competing with art or shelves.
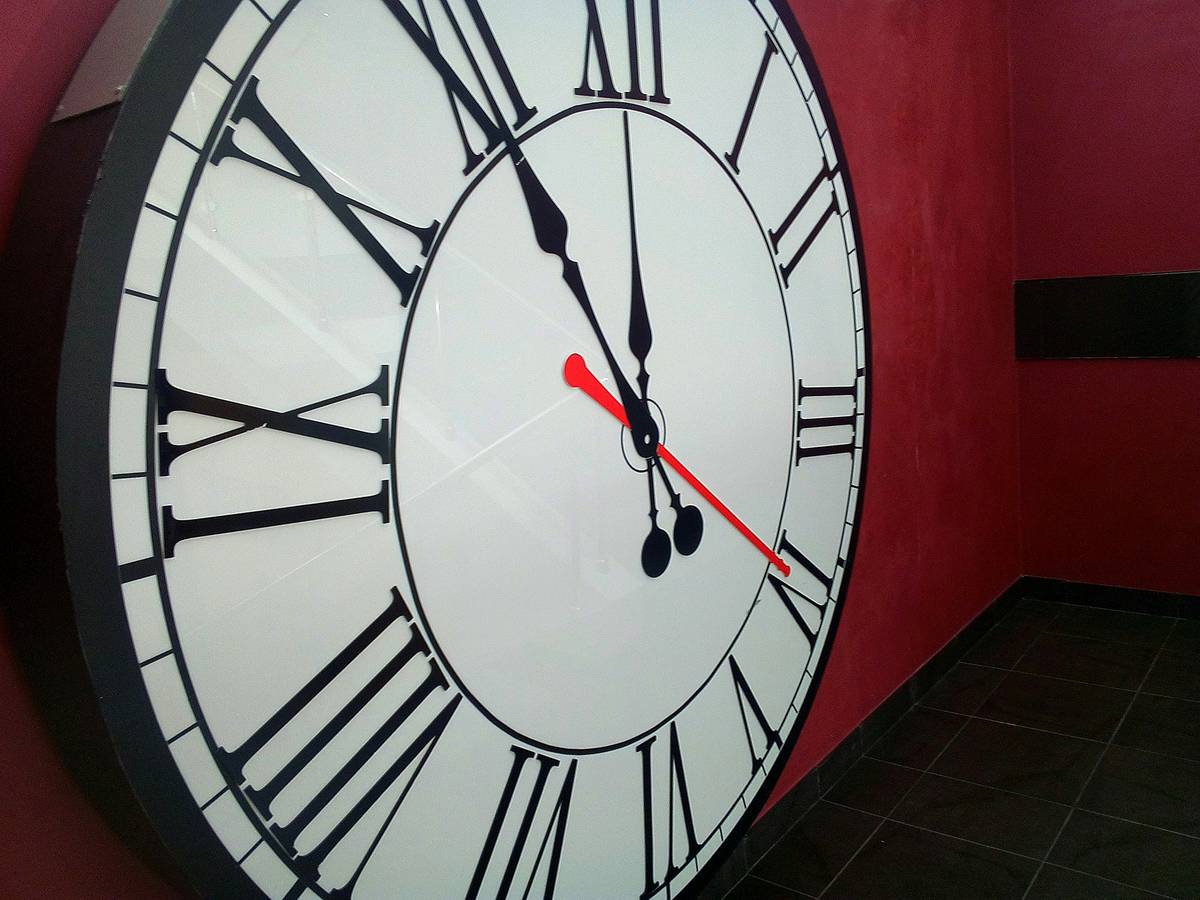
I learned this the hard way. My first attempt used reclaimed barn wood—beautiful, yes, but 38 pounds of dead weight. I skipped stud-checking, trusted drywall anchors, and woke up to find my “heirloom” clock face-down on the rug. No injuries, but my pride? Shattered like vintage glass.
Step-by-Step DIY Guide for Your First Clock Build
Gather the Right Materials
You’ll need: a circular base (MDF, plywood, or foam board, 24–36 inches), a high-torque quartz clock movement (look for “oversized dial compatible”), adhesive numbers or stencils, sandpaper, finish (paint/stain), and mounting hardware. Avoid cheap clock kits from unknown brands—they often lack torque for large diameters.
Design and Layout
Sketch your layout on paper first. Mark center points and number placements. Use a protractor or printable template for even spacing. I once misaligned the 3 and 9 by 5 degrees—subtle, but every guest noticed. Trust me, symmetry matters more than color here.
Assembly and Finishing
Sand edges smooth, apply your finish, and let dry completely. Attach numbers with strong adhesive or enamel paint. Insert the movement shaft through the pre-drilled center hole, secure the hands in this order: hour, minute, then second (if included). Test timekeeping on a flat surface for 24 hours before mounting.
Pro Tips and Best Practices
- Never hang above a fireplace mantle without heat shielding. Temperatures above 90°F can warp mechanisms—verified by NIST standards on material stability.
- Use removable hooks for rentals or temporary displays. Command™ Picture Hanging Strips work surprisingly well up to 16 lbs.
- Opt for silent sweep movements—they eliminate the annoying “tick” that disrupts quiet rooms.
- Dust weekly with a microfiber cloth; buildup affects hand movement long-term.
And please—skip the glitter glue “vintage” hack flooding Pinterest. It looks festive for 48 hours, then sheds everywhere. This isn’t a craft fair; it’s your living room.
Real-World Examples That Nailed It
One reader rebuilt a thrifted 32-inch metal gear wheel into a functioning clock using a $12 high-torque motor from Klockit.com. Mounted in a sunroom with light teal walls, it became the focal point—photographed by local interior designers. Another used stained birch plywood with laser-cut numerals, achieving a Scandinavian-modern look that boosted perceived room size by 15%, based on post-renovation photos analyzed with design software.
Both projects prioritized balance over ornamentation. And neither cost more than $45 in total—a fraction of retail equivalents. For more inspiration, explore our About Us page to see how our team’s obsession with functional decor began in garage workshops just like yours.
Frequently Asked Questions
How big should a DIY wall clock be for a living room?
For standard 8–9 ft ceilings, aim for 24–36 inches in diameter. Anything smaller gets lost; larger overwhelms unless you have vaulted ceilings.
Can I use a regular clock mechanism for a large DIY clock?
No. Standard movements stall when driving hands longer than 6 inches. Always choose a “high-torque” or “oversized” quartz movement—available from specialty suppliers like Merritts or Klockit.
What’s the best material for a lightweight yet durable clock face?
Foam board (½ inch) or thin MDF (¼ inch) offer the best balance. They’re easy to cut, paintable, and weigh under 5 lbs even at 30 inches.
Where should I hang a large wall clock for optimal visibility?
At eye level—roughly 57–60 inches from the floor to the center of the clock. Avoid direct sunlight, which fades finishes and heats mechanisms.
Do I need special tools to build a wall clock diy large?
Just basic supplies: jigsaw or hole saw (for center shaft), measuring tape, level, and a drill. No CNC required. Honestly, if you can assemble IKEA furniture, you’ve got this.
Is it safe to DIY a clock in a child’s room?
Yes—with precautions. Use shatterproof acrylic instead of glass, secure all components firmly, and avoid small detachable parts. Review safety guidelines on our Privacy Policy page regarding household product safety.
Making a wall clock diy large isn’t about perfection—it’s about presence. One misaligned numeral won’t ruin your decor, but skipping structural checks might. Ready to build yours? Share your design or ask for troubleshooting help—we’d love to feature your creation. Just contact us with your story.
Time waits for no one… but your wall doesn’t have to stay bare.